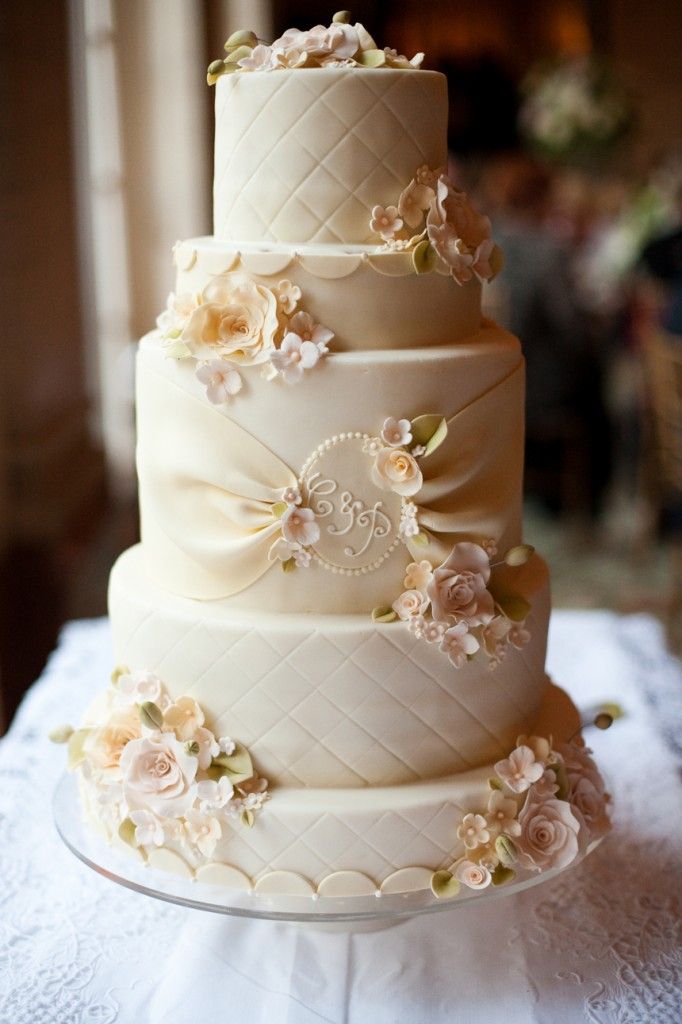
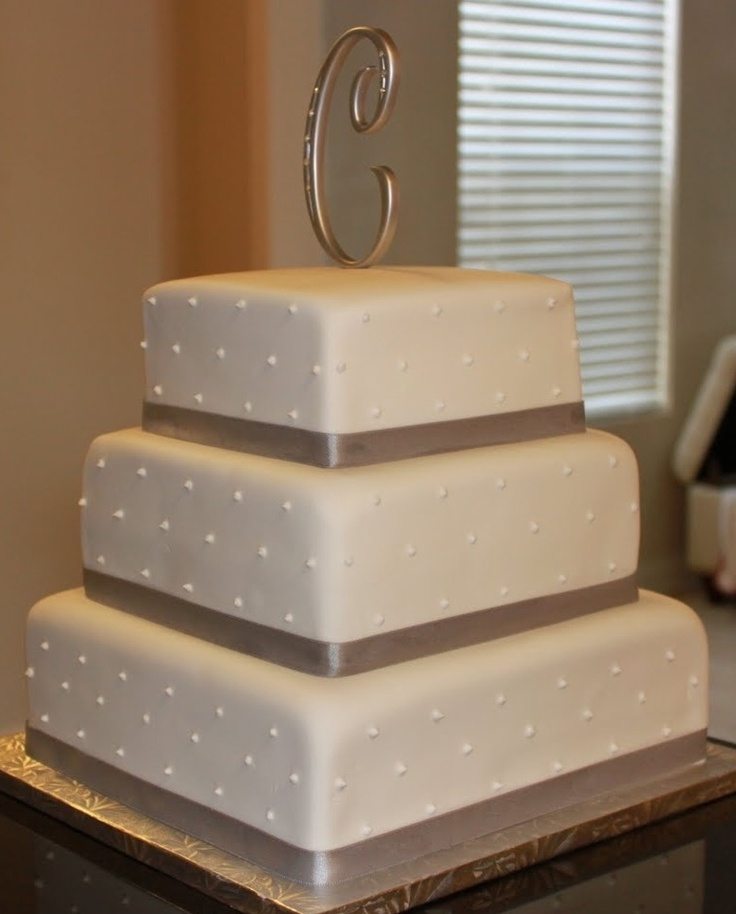
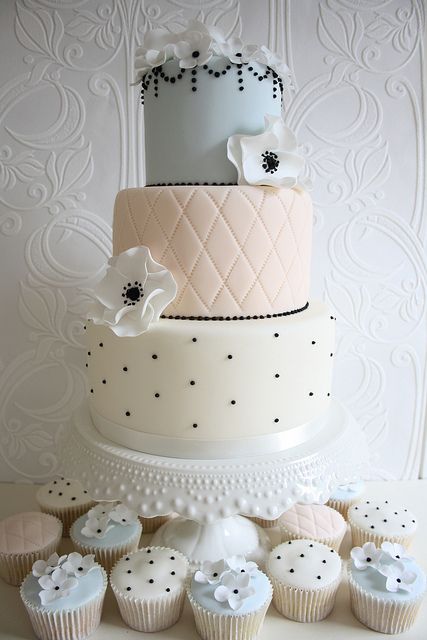
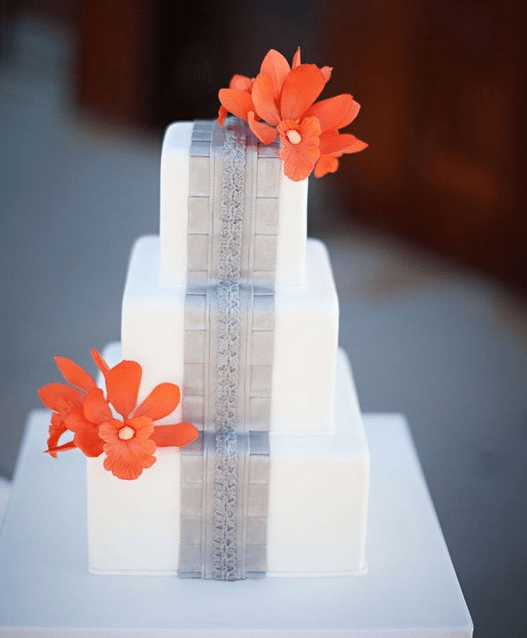
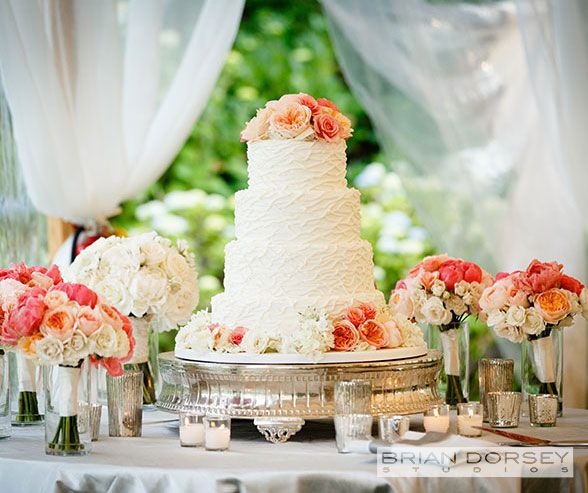
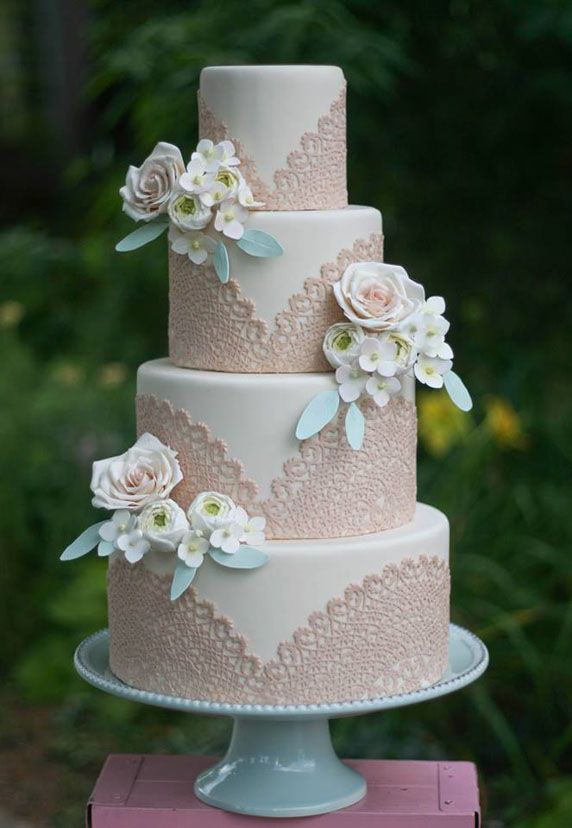
Something that many brides are understandably intimidated by is choosing a wedding cake. Bridal magazines and websites seem to feature dozens of pictures of elaborate cake towers that look like they required some heavy construction equipment to put together. The truth is, though, you can make your own wedding cake. It is great to get ideas from beautifully designed wedding cakes on places like Pinterest while you’re planning. In fact, it’s pretty easy to make a tiered wedding cake, and most of the work can be done a day or two ahead of time. Here are some step-by-step instructions for making a simple tiered wedding cake.
How to Make a Wedding Cake
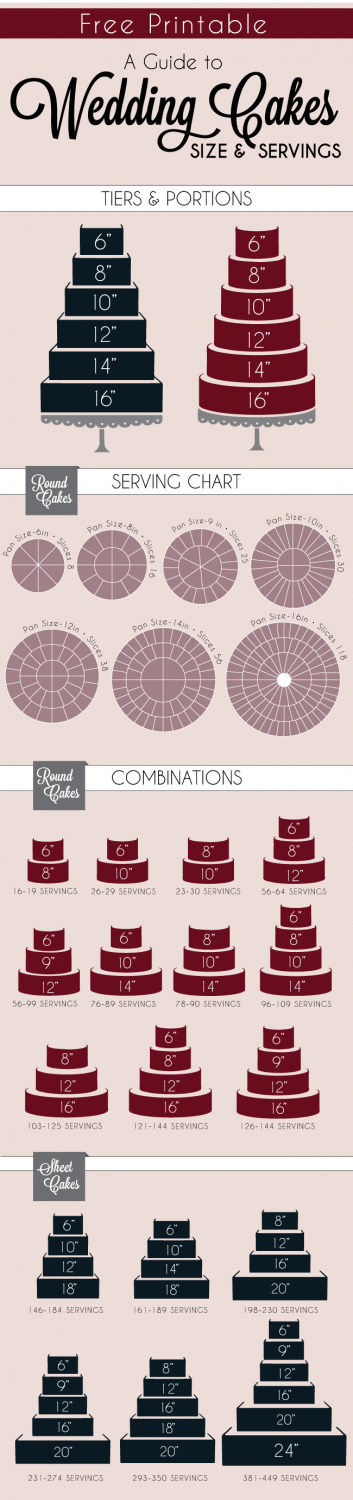
Before starting to make a wedding cake – some important information that you’ll need prior to buying ingredients and materials:
- How many wedding guests will be served?
- What flavor wedding cake do you want?
- What sort of frosting do you like?
Once you know the number of servings, you can then decide how much cake mix and frosting you will need.
Necessary equipment:
- Cake pans for the various layers – for example, 3 round cake pans, 11, 9, and 7 inches wide, and 2 inches deep. The best cake pans are heavy duty pans that heat evenly and therefore produce level, uniformly cooked cakes. Pans 12 inches or larger may require heating cores in order to ensure even baking.
- Food-safe cardboard or foam rounds of the same size as the cake pans. You can buy these rounds pre-cut at a craft store, or cut them yourself from clean, food-safe cardboard or foamboard.
- Food-safe wooden dowels, 2 inches long
- Parchment paper
- Cooling racks
- A long, thin, sharp knife to level the cake and (optional) slice the cake into layers
- A pastry bag with a variety of decorating tips
- Icing spatula (optional) and decorating combs (optional) for a more professional look for the icing
[FLOWPLAYER=http://www.topweddingsites.com/images/videoads/wedding-cake-video.flv,320,240]
Bake the cake – follow the cake recipe instructions to bake the cakes in the various pans. Most wedding cake recipe instructions will recommend that you spray the cake pan with a nonstick cooking spray, place in the pan a piece of parchment paper cut to fit the cake pan, and then spray the parchment paper with more non-stick spray. Then you put in the batter, making sure that it spreads evenly in the pan so it will cook evenly.
The cakes need not be baked all at one time if your oven does not have the room. For a layer that is cooked ahead of time, wait until it is cooled completely, then place the cake on its same-sized cardboard or foam round. Wrap the cake and round in plastic wrap, and leave on the countertop at room temperature. (Or follow whatever instructions are provided with the recipe for storing the cakes until you are ready to start decorating.) Freezing cake works very well and can actually help the cake be less crumbly.
Do not remove the parchment paper until the cakes are completely cooled and you are ready to begin icing the cakes.
Make the wedding cake frosting – follow the recipe instructions for the frosting. If you made it ahead of time, be sure it is at room temperature before icing the cake.
Level and slice the wedding cakes – if your cakes turned out uneven (a common occurrence) slice away the uneven parts with a long, sharp knife.
If you want each 2-inch layer to have an additional layer of frosting in the middle, you will need to carefully slice each cake in half. You can mark the halfway point of the cake height on the sides of the cake with a toothpick or knife prick in several places around the cake. Then using those marks as a guide, use a long, thin, sharp knife to slice the cake in half. To easily pick up the top slice, take a piece of parchment paper several inches longer than the cake is wide. Fold a few inches of the paper over the edge of a long knife, and gently slide the knife under the top layer (you may have to gently lift an edge of the cake to help get the paper through). You can then lift the top layer by holding the edges of the parchment paper.
Ice the wedding cakes – this is done most easily with an icing spatula, but any smooth spatula will do. You may need to ice the outside surfaces of the cakes two or three times to achieve a really smooth look; its recommended that you refrigerate the cake in between frostings if you are doing more than one layer.
You can add texture to the icing with a decorating comb – these are usually thin plastic or metal implements with decorative edges, and are also usually inexpensive. Obviously, you will only need to add texture to the sides of the cake that will be on display.
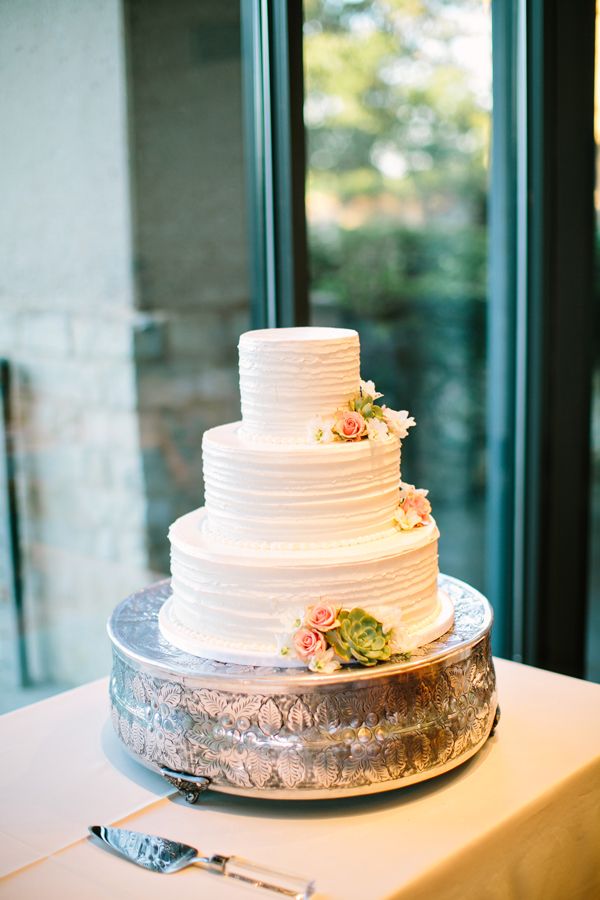
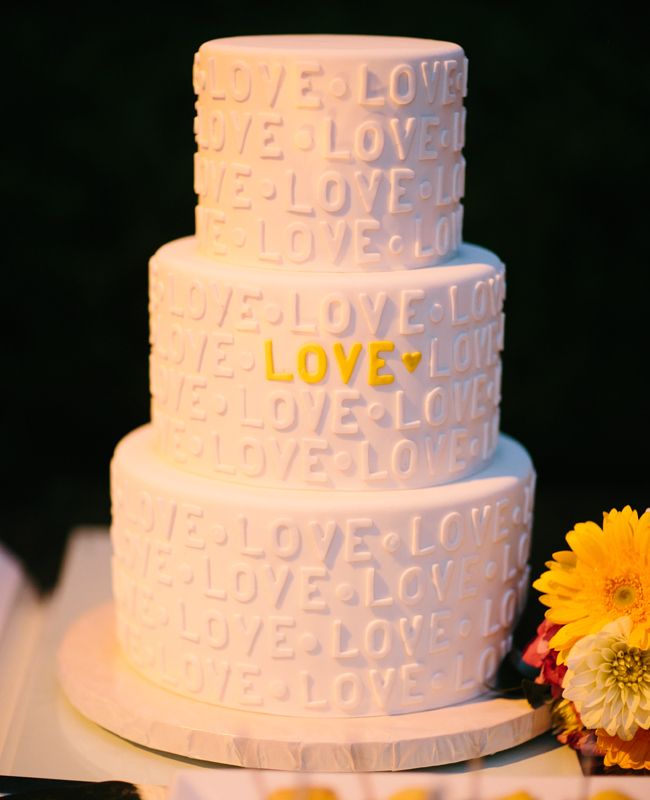
Assemble the wedding cake – carefully insert several (at least five) wooden dowels in the bottom cake layer in a circular pattern, about an inch or so within the diameter of the next smaller layer (these dowels will be supporting the next smaller cake layer). Using our 11-9-7 inch layer example, you’ll want to place the dowels about 3 inches in from the outer edge of the 11 inch cake. Then carefully place the 9 inch cake (with its cardboard or foam round on the bottom), on top of the 11 inch cake, making sure it is centered.
Now take a few more dowels and carefully place them in a circular pattern in the 9 inch cake, about 2 inches in from the outer edge. Then carefully place the 7 inch cake, with its cardboard or foam round, on top of the 9 inch cake, making sure it is centered.
Decorate the cake – using the pastry bag and the decorative tips, pipe frosting on the top and bottom edges of each layer. Although this work is pretty simple, it requires patience. You’ll want to take frequent breaks to rest your hands and eyes and to assess how evenly you are applying the trim. Once you are done with the trim, you can add a cake topper, if you like – there are many to choose from in wedding and craft shops. Then the cake is done!
In this guide of how to make a wedding cake, we realize we make it look easy. The inspirational wedding design you see on these pages may intimidate you even further. It shouldn’t. Like anything, you might want to have some practice and some friends who can help you. To make your own wedding cake is quite a bit more work than making a simple pan cake, but it can also be a lot of fun and very rewarding. We do recommend that you practice making one or two wedding cakes several weeks prior to the wedding so that you can become familiar with the equipment, and how long it takes to do each step. The main cost is in the equipment, so practicing making the cakes once or twice will not be too expensive. And you’ll probably have no shortage of volunteers with whom to share your practice cakes!