When the wedding day is over, three things remain: your new spouse, wonderful memories, and your wedding photos. Those photos will be cherished forever, so you want to make sure you love every detail. Even if your wedding photographer did some retouching, you may want to do a few edits on your own, like changing the brightness or removing people in the background.
Luckily, these types of edits can be done at home, even for a beginner with no prior editing skills, and online print companies like VistaPrint make things super easy. With their online design tool called VistaCreate, you’ll become a novice photo editor in no time. Check out these 5 basic photo editing hacks you can do on your own.
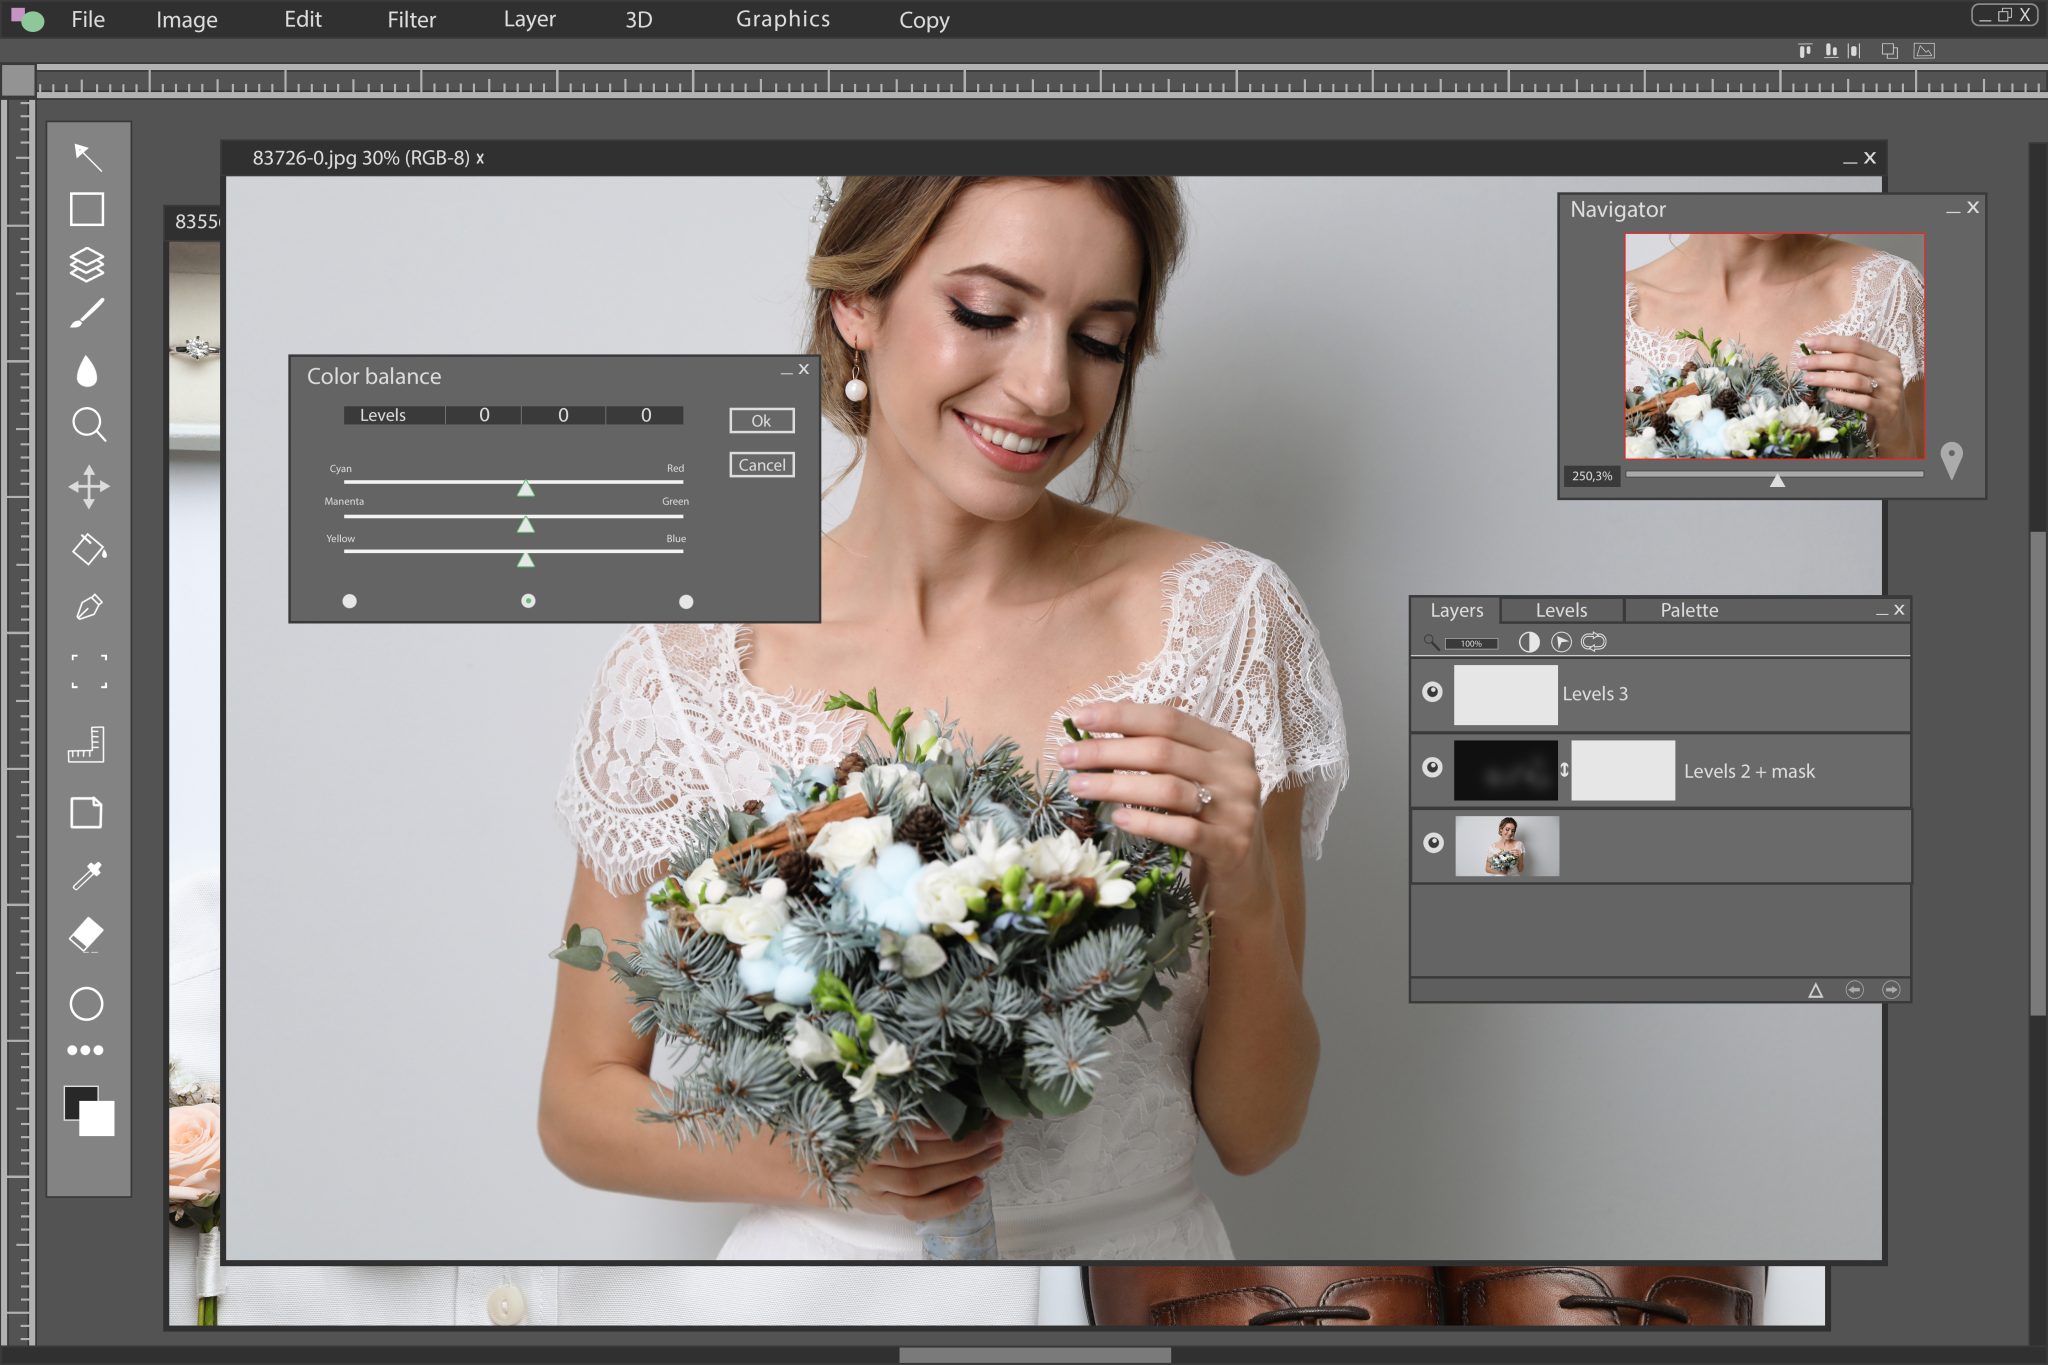
Courtesy: medium.com
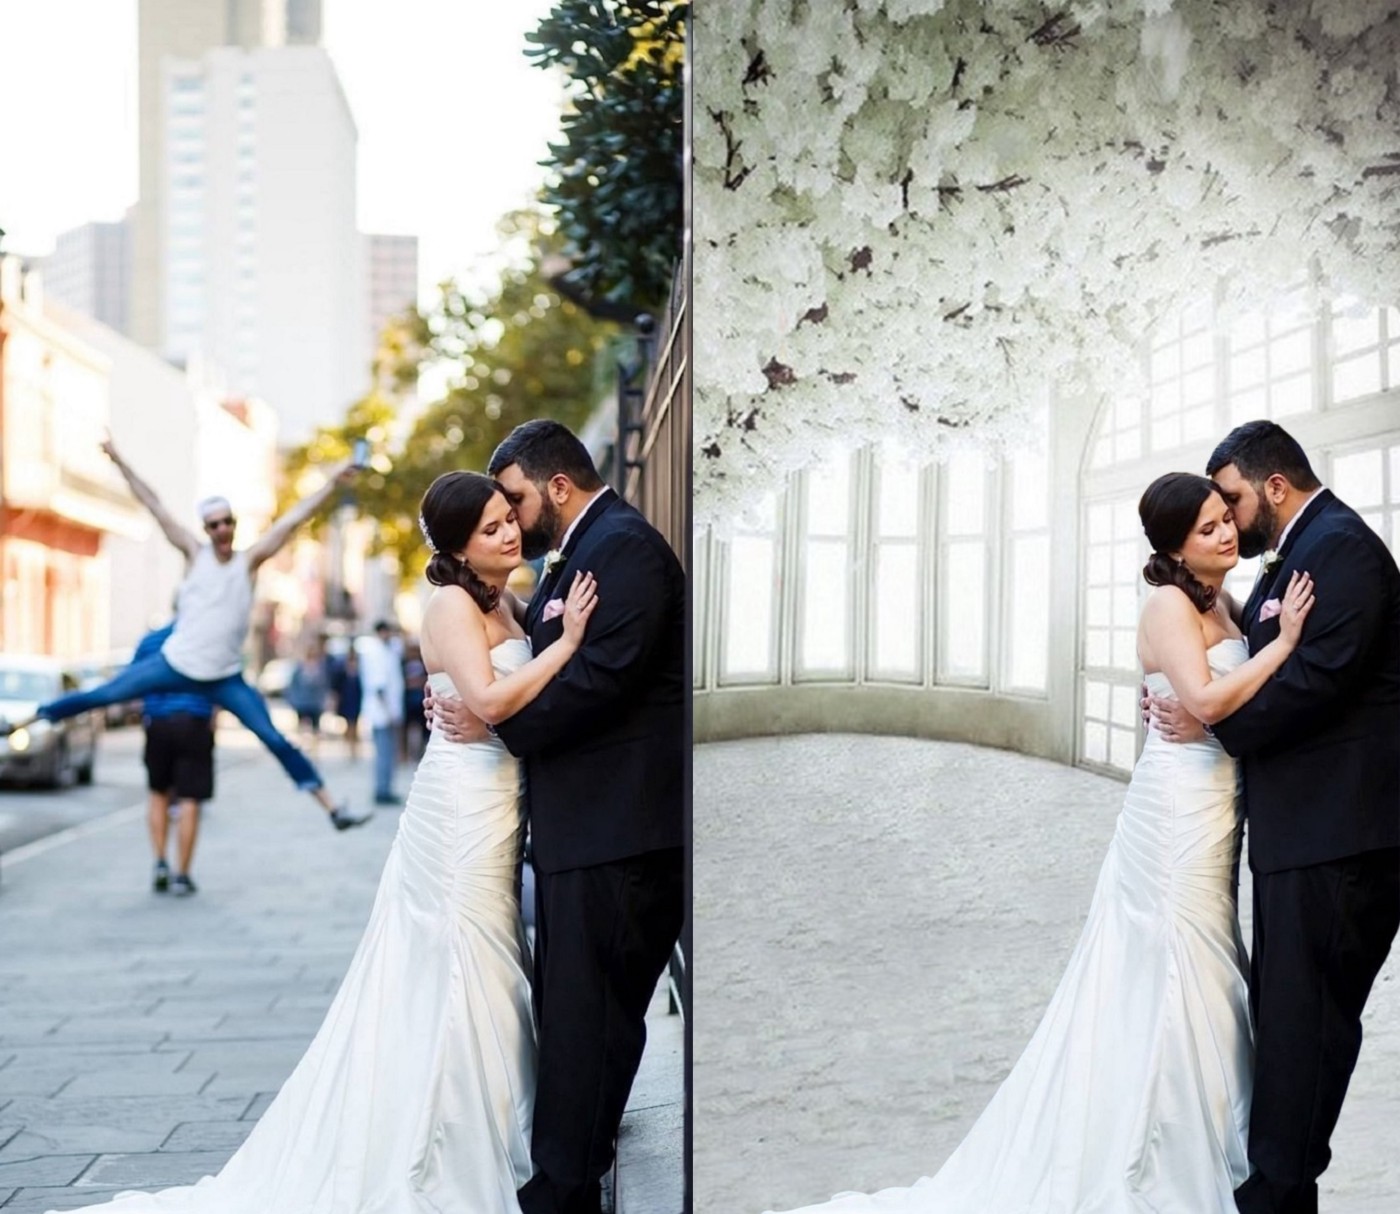
Removing/Replacing the Background
One of VistaCreate’s newest features is the background removal feature. This online tool allows you to basically cut out the background, while keeping your foreground intact. The tool analyzes your photo and determines the primary and secondary objects that it thinks you’ll want to keep. To use the tool, simply sign up for your free VistaPrint account then upload the image you want to edit. Next, select the “remove background” icon from the toolbar and choose a new background. You can use a pattern or photo provided by VistaCreate or upload your own photo.
This is a cool option if you’re posting about your wedding on social media—you can add a custom background with your wedding hashtag or something similar. If you’re wanting a clear background, you can make it transparent as well.
Once you’re done editing your background, just save your image and download to your desktop. If you used a solid color or another background, save as a JPEG. If you choose a transparent background, save it as a PNG.
Courtesy: Stock Adobe via Volodymyr
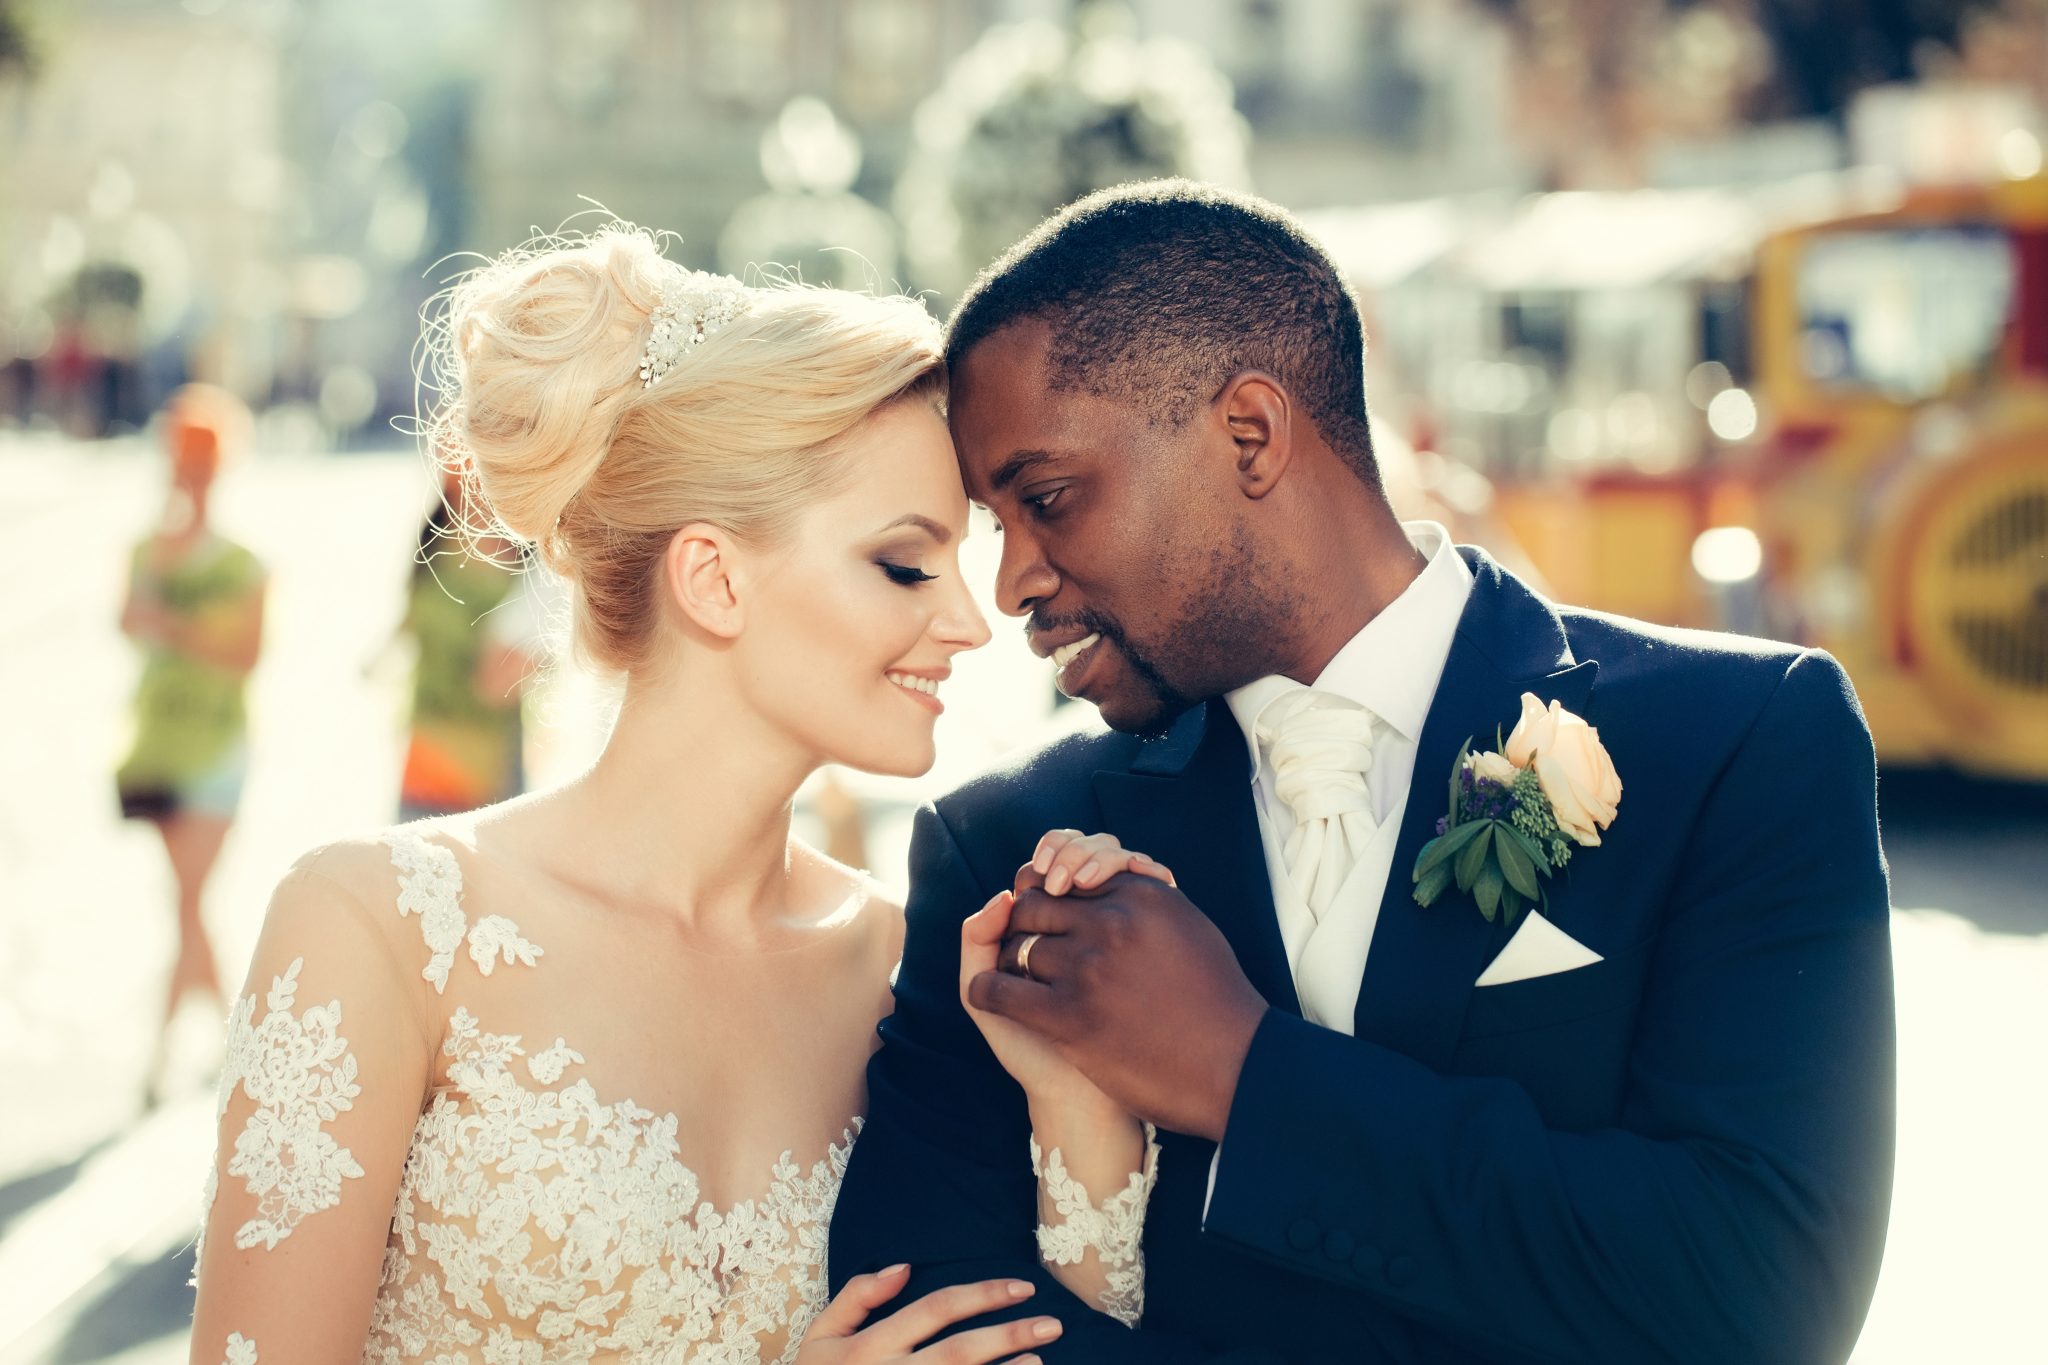
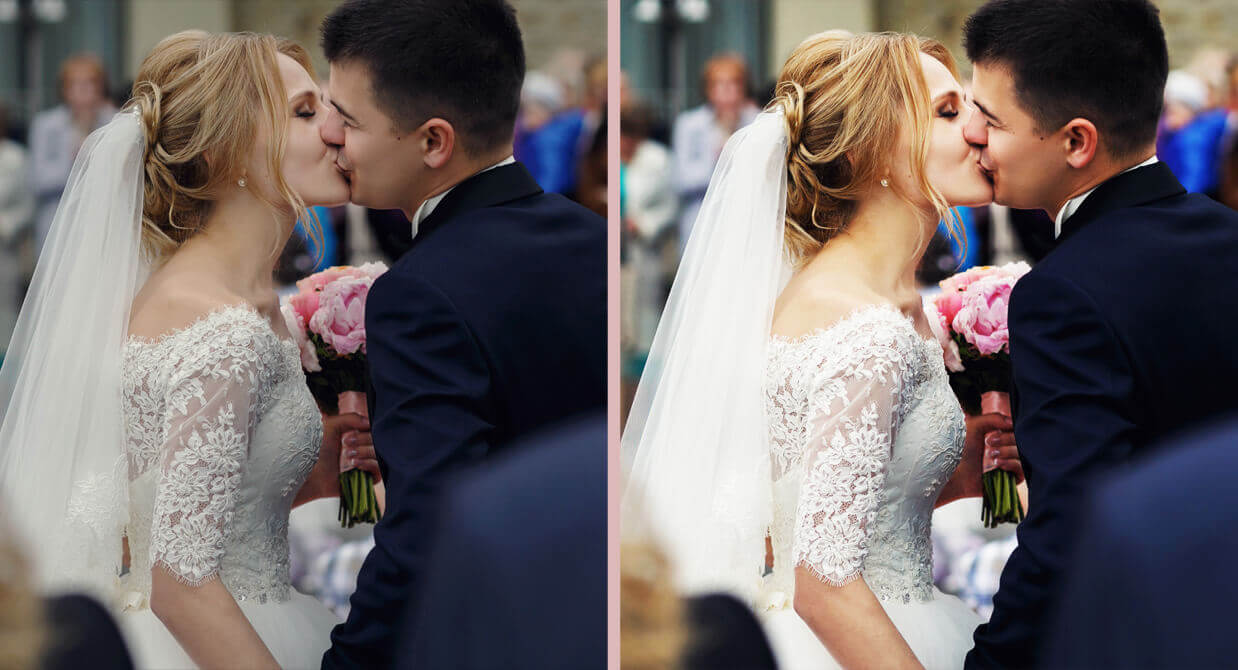
Blurring the Background
If you want to keep your original background but switch the focus to only the foreground, you could blur the background—also called the “bokeh” effect. This tool creates a unique visual impact through depth of field and really allows your main subjects to shine.
To create this effect, upload your photo and find the blur tool. Choose the subjects you want to keep in focus and select the level of intensity you want for your background blur. Once you’re satisfied, simply save your photo!
Courtesy: etsy.com
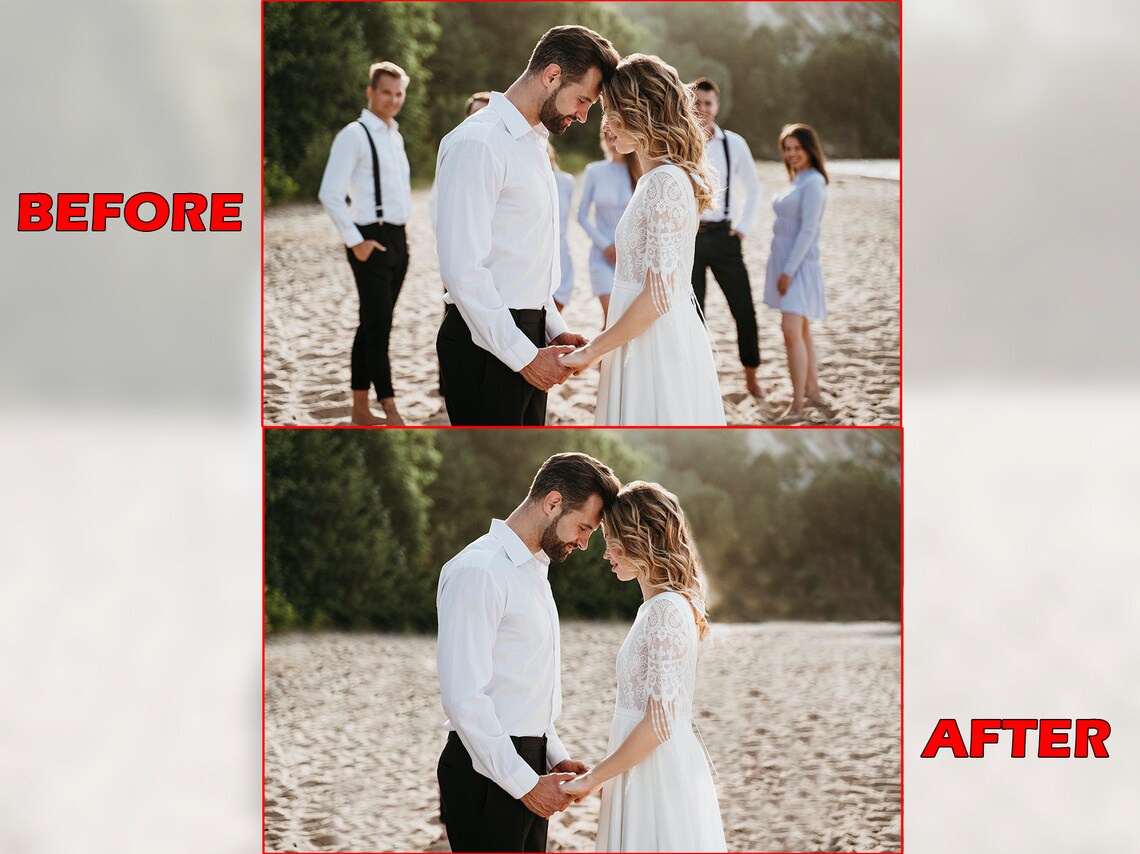
Removing Extra People
Another common photo edit is to remove unwanted or blurry people from your photo. Maybe it’s your goofy bridesmaid making a face on the dance floor or something else distracting from the main focus.
Again, simply upload the photo and zoom in to the people you’re wanting to remove. Simply drag the removal marker over that person and watch them disappear! Repeat these steps until all the unwanted subjects are removed and you’re left with a clean photo.
Courtesy: muvee.com
Cleaning up the Color & Contrast
Want your photo to pop? Altering the color contrast and saturation can help liven up any dull or muted images. For example: if you have a vibrant color in your photo, like the flowers in your wedding bouquet, bumping up the saturation will help make the color more vivid. In comparison, the contrast tool will help balance the lightest and darkest tones in your image so that nothing appears washed out or too cloudy.
You’ll want to play around with each of the color tools; it’s typically a slider button where you can slowly bump the saturation or contrast up or down. Find the perfect mix without ruining the details of the image and save!

Courtesy: sparrowediting.com
Making an Image Brighter/Darker
Like altering the contrast, adjusting the brightness will help lighten or darken your overall image. This is a great way to play up the mood you’re going for. If it’s the end of the night, darkening the photo can add a sense of romance. Your walk down the aisle may be the place to lighten up the image to create a sense of bright joy and happiness.
To start, find the adjustment tool and go to brightness. This setting will target your mid-tones, meaning your darkest and lightest points will be left untouched. Again, use the slider tool to play with different levels of brightness until you achieve what you’re looking for. Just be careful to not overdo your brightness. If the image is super dark, bumping up the brightness will allow the image to be noisy or grainy, meaning you’ll see a bunch of tiny spots or specks.